sign
-

Window sign 2 compleat
Remember to share your thoughts below. So we did it! Yes! ⭐️ Back to the Work Room. Let’s start a new project! Or maybe finish up one already started…? Tomorrow… See you there! Can’t wait!
-

Trimming the sign
Remember to share your thoughts below. There! I think it’s okay aligned. It’s a hand-made sort-of thingy, so it is what it is. Now integrated with the fabric. Actually I think it’s kind of cool!…
-
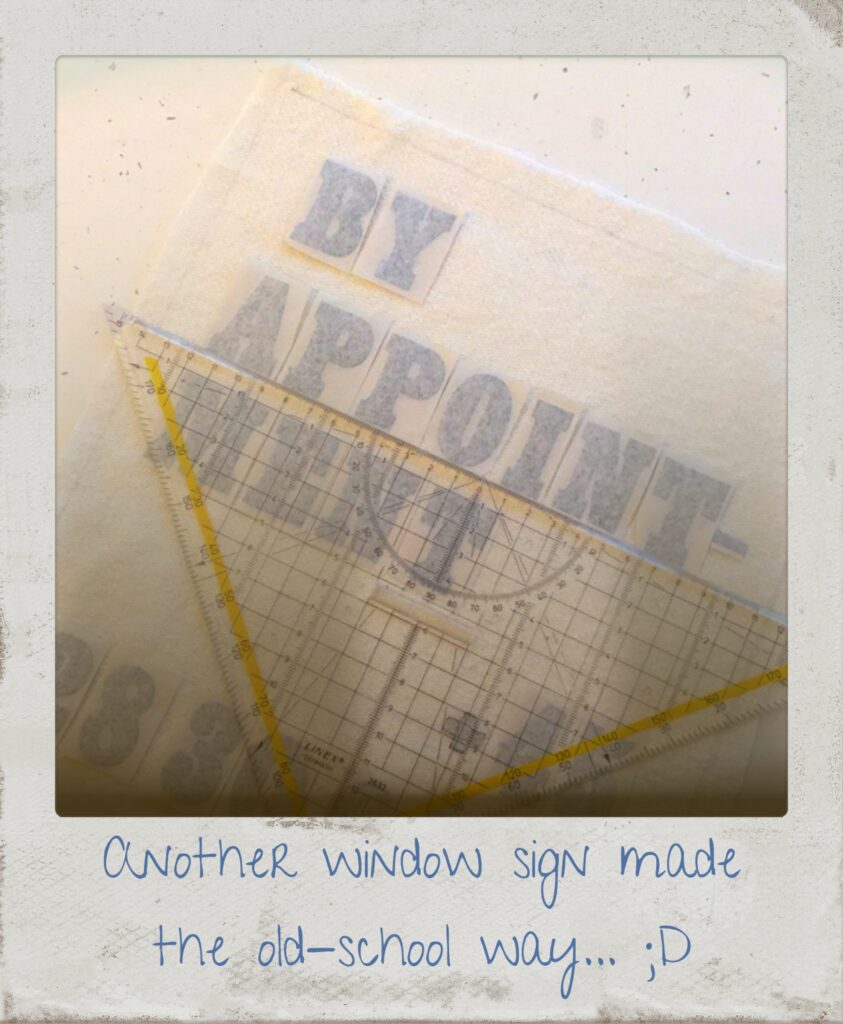
Deciding lay-out
Remember to share your thoughts below. Feeling really old-school now! Since it’s all vintage transfer letters for textile application, they do have to be cut out one-by-one and placed, and then ironed in place! No…
-

Another sign !
Remember to share your thoughts below. At it again… Can there be too many window signs made? (Using vintage frames for my DIY signs.) Back to the Work Room.
-

First DIY sign !
Remember to share your thoughts below. Yes! I like it! 👍 A bit irregular and rough, with a vintage feel that could send ones thoughts over to textil and tailoring. I’m glad I made it!…
-

Heating up !
Remember to share your thoughts below. Heating up the letters to make them stick to the fabric, with some protective paper on top… I choosed to place the cut-out letters in a somewhat rounded and…
-
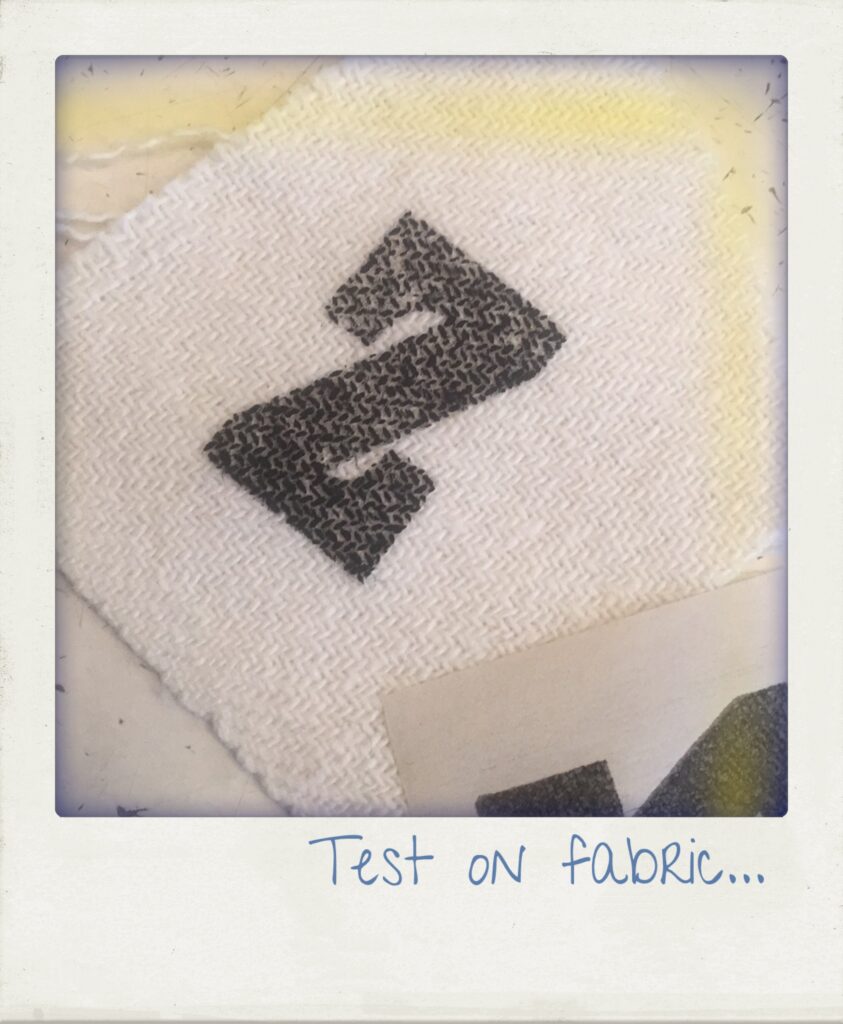
A letter test
Remember to share your thoughts below. Before making the sign, I just made a test sample. You never know how vintage things will work, ecpecially if there’s some sort of glue included… But it worked…
-

Planning a sign
Remember to share your thoughts below. Thought I maybe needed a sign in my window…? Well, if so, why not make it oneself, “the textile way”? Back to the Work Room. Let’s try it! Right?